Crestone Experience- Part II
"Modern Route"
Click here to see Part I
After reaching the summit of Crestone Peak, it was time to traverse over to Crestone Needle. We had done a lot of reading, studying, and preparing. Scott brought some useful photos from 14ers.com users. In the end, we had to figure some things out for ourselves, and that added to the experience. This really feels like something you earn.
Disclaimer: This route can be dangerous, and should only be attempted by experienced and prepared parties. If I say something is "easy", that means easy for someone who is comfortable with class 3 climbing and exposure. Do not use this as an introduction to class 3 climbing. Climb at your own risk.
(click on any photo to make it larger)
 |
| 3-shot Panorama. The traverse begins! |
Okay, listen up. An important part to this traverse is finding the start. You descend roughly 300' from the notch. It's actually easy to find the right place if you look at these photos.
1) If you look right you see a dramatic notch
2) If you look forward you see a large and wide rockfield, which then drops off
3) If you look behind you, you see solid rock
 |
| What you see behind you (photo by Scott) |
 |
| And here is where we started around. Think "around the side" |
 |
| After 5 minutes, we came "around the bend". From here on out, the Black Gendarme called to us |
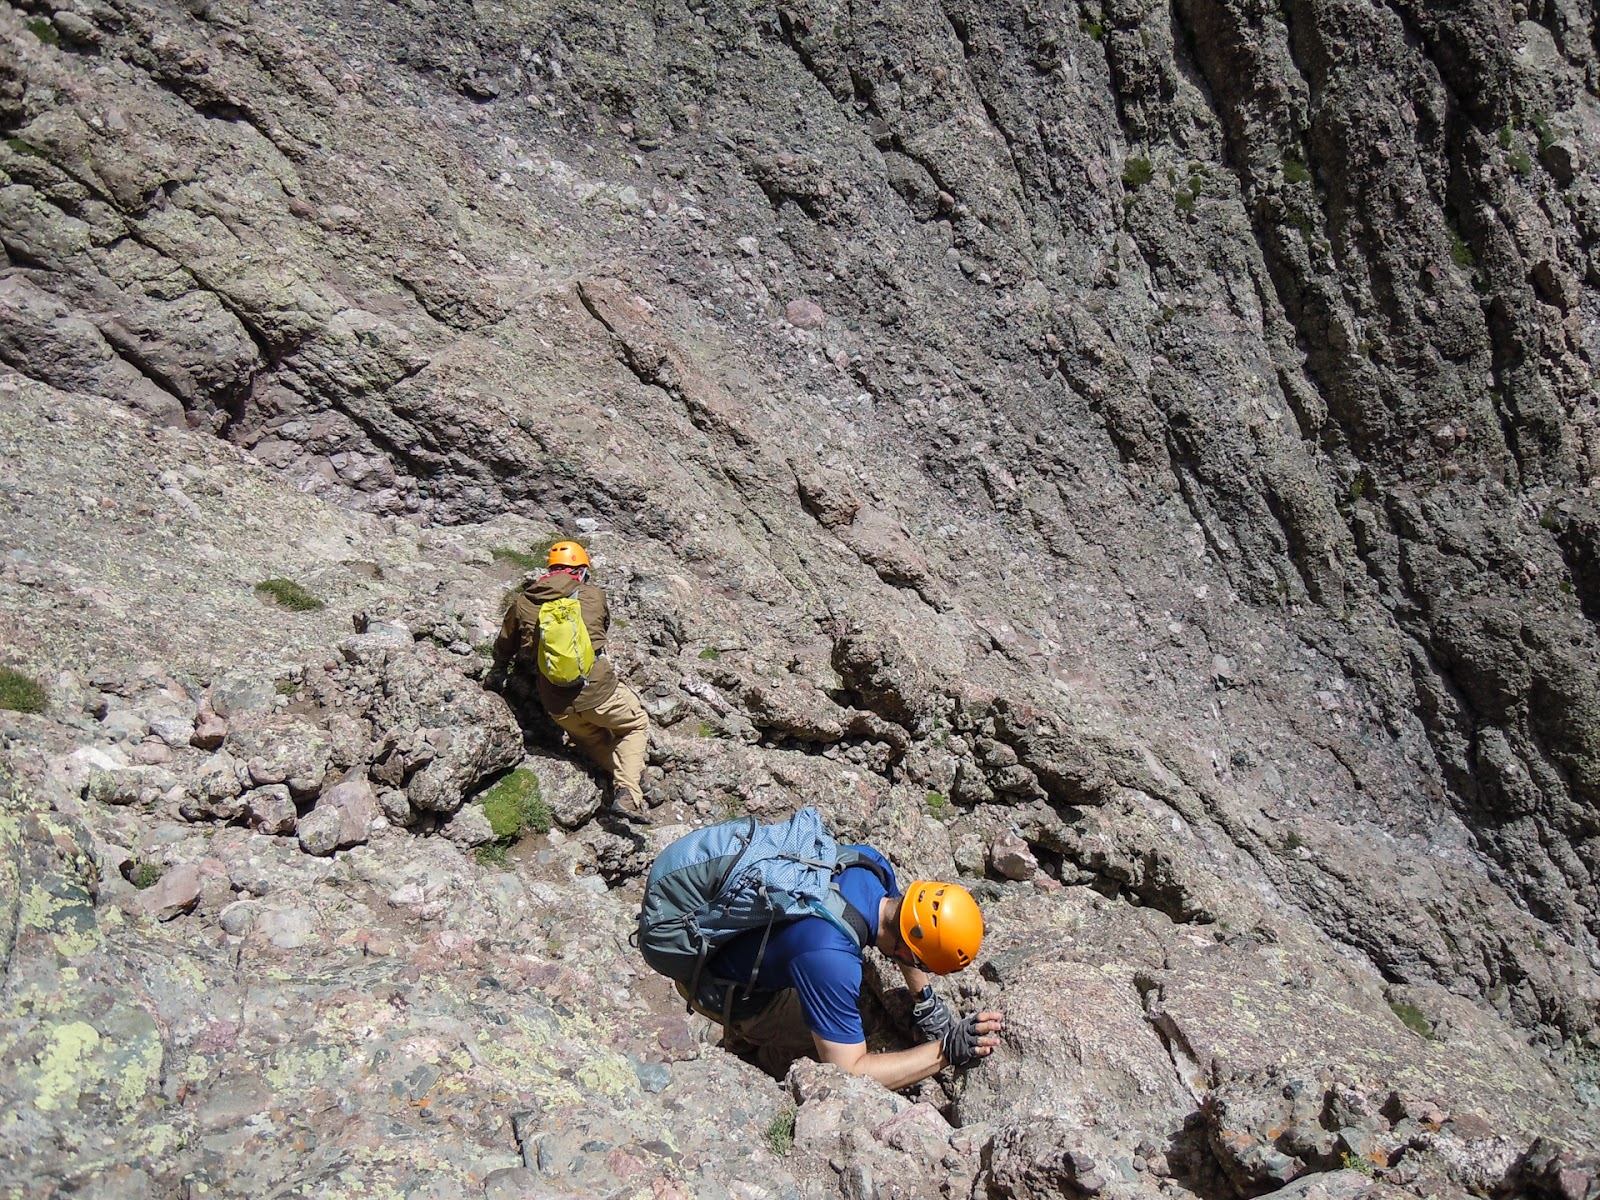
The first part of the traverse is easy. Locate cairn, travel to cairn, look for next cairn. The climbing was relatively easy, although short class 3 sections popped up often. But soon we reached a point where there was no marking. It looked like we could go down and around a rib, or up a steep, rocky gully (which at first looked nearly impossible). Going up was the right choice, and wasn't difficult. These next 2 photos are at the start of this section.
 |
| Ascending the broken gully (Photo by Matt) |
 |
| Matt and Scott entering the broken gully |
 |
| Roughly- the upper route. Note the Black gendarme. |
In this photo you can kind of see the upper bounds of the "modern route". It deviates from the Roach Route. The lowest arrow is near "the chockstone", which will require some 5th class moves to pass over. Someone has left a rope here. The second arrow is "the knife edge", which is brief but a little scary. The last one of course is the final pitch.
 |
| Finally, approaching the Black Gendarme |
 |
| Bypassing the chockstone with a 5.5 pitch |
Matt figured out how to bypass the chockstone to the left, but it was probably a 5.5 pitch, overhanging, poor holds. Falling would have been awkward and painful, like sliding your face down a cheese grater. I tried two times to go up this way but got stuck and backed down. Then I tried to climb the chockstone, and failed. Finally, I gave in and used the rope.
 |
| My photo of shame. This was hard to accept. When I finally gave in, it was much easier (Photo by Scott) |
Disclaimer- it is not recommended to use any rope that is in place. We inspected the rope, checked the anchor, and tested it with my full bodyweight before using it. Even then, it was risky, and only used as a last resort and 3rd point of contact.
Once over the chockstone, proceed to the top of the gulley, and then turn right and ascend a brief section of class 3 with some exposure, kind of "knife edge" like at the beginning. After this small climb, you hug the wall and go up, eventually turning a corner. You zig zag a little, meet up with the roach route, and quickly arrive at a point where you can see the final pitch. Climb up alongside it to reach the final notch. We all climbed the final pitch 3-4' from the left (east?) edge of the wall, starting close to the notch.
 |
| Climbing past the "knife edge" |
 |
| Going up and around |
 |
| Myself on the ledges (Photo by Matt) |
 |
| Scott on the ledges |
 |
| Matt ascending the final gully |
 |
| Scott climbing the final pitch as Matt looks down from above |
 |
| Scott climbing, same time from above (Photo by Matt) |
What can I say about the final pitch? After all we had been through, it didn't seem so bad. However, I had been having nightmares about this moment for a few months. I could feel the fear bubbling up inside of me as I watched my friends climb- frankly, I was a little scared to watch. I sat down, taped up my finger, and focused on calming myself. It starts off easy and eventually the holds become smaller as the pitch steepens. If I would have taken time to contemplate my predicament, I would have been scared. I climbed thinking of nothing but hands, feet, and rock. About 2/3 of the way up there is a small ledge to rest on. It's a short pitch, but it's everything that people say it is.
 |
| I took this picture over my shoulder near the top |
 |
| Topping out of Crestone Needle (photo by Scott) |
 |
| Scrambling along the last little stretch. Exposed. (photo by Scott) |
 |
| You pass by this sign on the way |
 |
| Victory! Matt, Scott, and Myself. We were seriously thrilled. |
Topping out of Crestone Needle was probably the highlight of my summer. The tension built up and then as I neared the top it just washed away. It all seemed so surreal. Scrambling the final 50 feet, I could see and hear the crowd on the summit. Suddenly it felt like a victory lap- I had survived the traverse. I hugged Matt and Scott spontaneously. It was 2 hours and 15 minutes from the time we left the Crestone Peak summit.
 |
| Crestone Peak, Kit Carson, Fluted Peak, Colony Baldy, Humboldt Peak, and others |
 |
| Broken Hand Peak, Milwaukee Peak, Music Mountain, Pico Asilado, Spanish peaks, Blanca group beyond |
But we still had to get down
 |
| Downclimbing (photo by Matt) |
 |
| Scott and Matt coming down |
 |
| Some flowers in the West gulley |
 |
| Matt and Scott on the crossover. There are currently orange flags here. |
 |
| Matt and Scott downclimbing into the East gully |
 |
| Scott and myself downclimbing the crossover (photo by Matt) |
 |
| Myself at the "step across" (photo by Matt) |
 |
| Scott and Matt climbing up and over a rib |
 |
| Finally, are we done yet? (photo by Matt) |
 |
| Matt strikes a pose near Broken Hand Pass on the Needle |
 |
| Looking back on Broken Hand Pass on the way down (Photo by Scott) |
 |
| Humboldt Peak and upper and lower lakes from 1/2 way up BHP |
 |
| Female bighorn sheep |
We were pretty tired, worn out, and hot when we reached camp. I sat down and rested for about 15 minutes, snacking and drinking a CoCoNut Porter I had retreived from the lake. The rest helped re-engergize me enough to pack up camp and hike the 4 miles back to the truck.
I think it took 9.5 hours tent to tent for the 2 summits, and ~1.5 hours to hike out. We reached the truck at 4:30 PM, 12 hours after we had first set out for BHP.
This was a great trip and I have to give respect to my climbing partners Matt and Scott. Both were motivated, upbeat, and untiring. The traverse really felt like a "team effort" and we were glad to complete it together.
Trip totals:
~13.5 miles
~6000' of elevation gain


Nice write-up and photos. Planning to do this traverse in a couple of weeks, and this is going to be very helpful. Do you happen to know if the FS ever actually instituted a fee for parking? How much vehicle clearance does the road require after its re-working? Thanks, and congrats.
ReplyDeletePatrick Lilly
Patrick, thanks for your kind comments. I am sorry I did not reply sooner, but hopefully I can help you. The FS did not institute a fee for this TH to my knowledge, I think their plans fell through. The road I think is doable with 7" or more of ground clearance. AWD or 4WD is helpful for a couple of steep sections where traction is at a premium. Overall the road didn't seem too bad both times I drove on it. It's much more fun to drive it than to have to hike the additional distance. There is a parking spot right before the final hill on the road.
ReplyDeleteThanks for reading my blog, hope you found this helpful.